
20% OFF COUPON CODE = SAVE2026
How to Bend Wooden Stair Handrail
To bend a wooden stair handrail, you glue a bending rail’s thin layers (plies) together and clamp them into a curved form made of guide blocks, then let it dry for at least 24 hours. Bending rail usually comes as 7 to 10 plies. Once the glue sets, the layers hold the curve on their own and the rail installs like any other handrail.
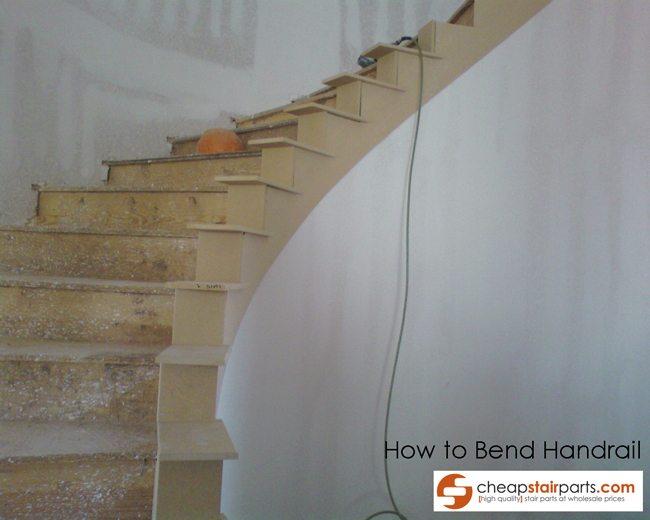
Tools You’ll Need
- Scrap lumber for guide blocks
- Hammer and nails (not a nail gun)
- Wood glue
- Small paint roller
- C-clamps (plenty of them)
- Wood shims
- Rubber mallet
- Sandpaper
Tip: Do a dry run first. Set up your blocks and clamp the rail in place without glue so you know everything fits before the glue starts to set.
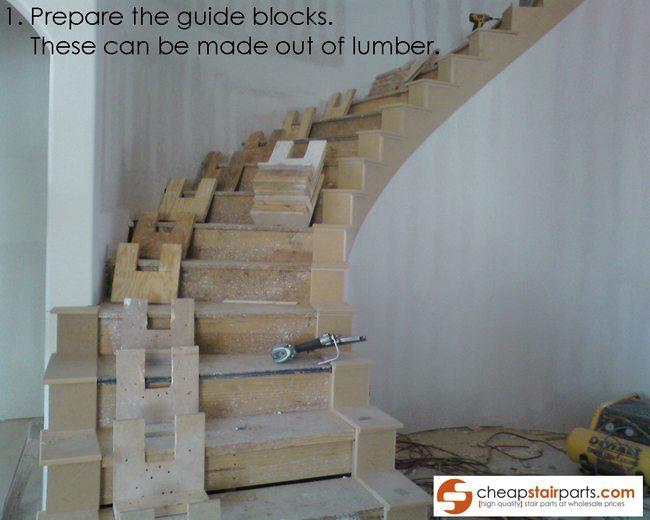
Step 1: Build the guide blocks
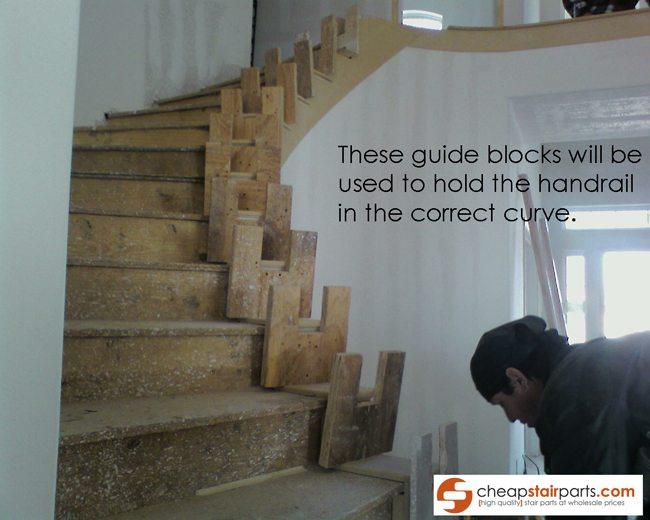
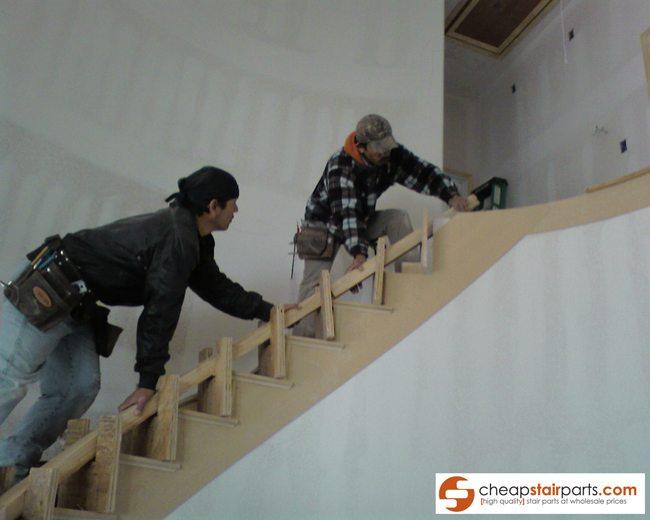
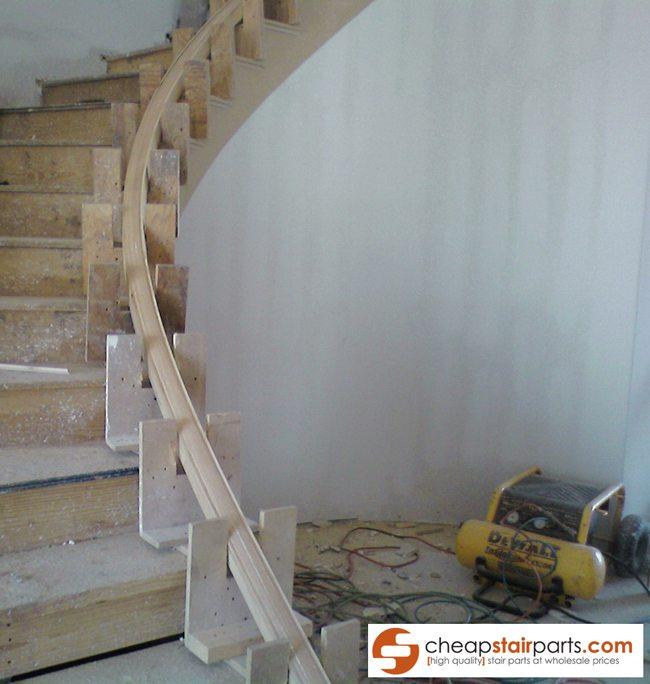
Cut guide blocks out of scrap lumber. These blocks form the curve and hold the handrail in shape while the glue dries.
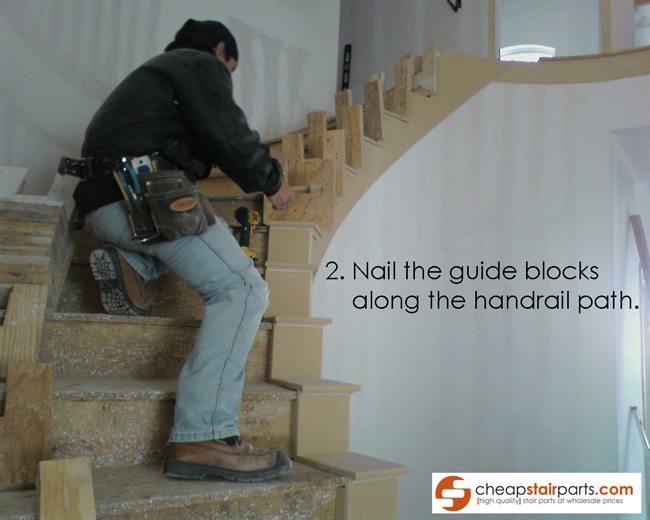
Step 2: Nail the guide blocks along the curve
Nail the blocks along the path the handrail will follow, spaced evenly so the rail gets steady support the whole way. Use a hammer instead of a nail gun, because you’ll pull these blocks back out once the rail dries.
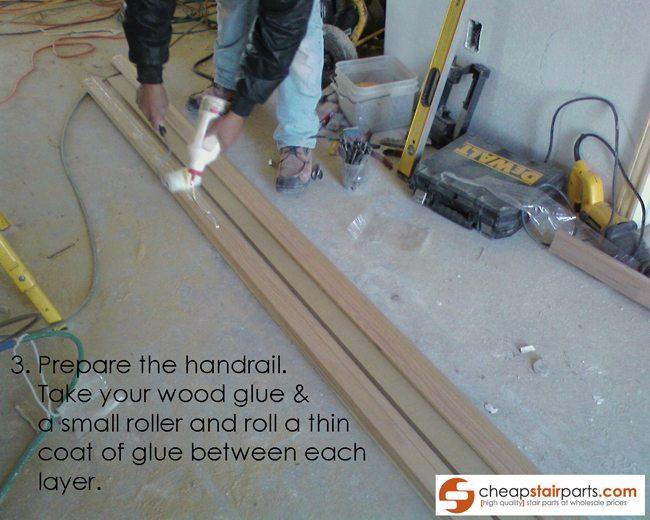
Step 3: Roll glue between the plies
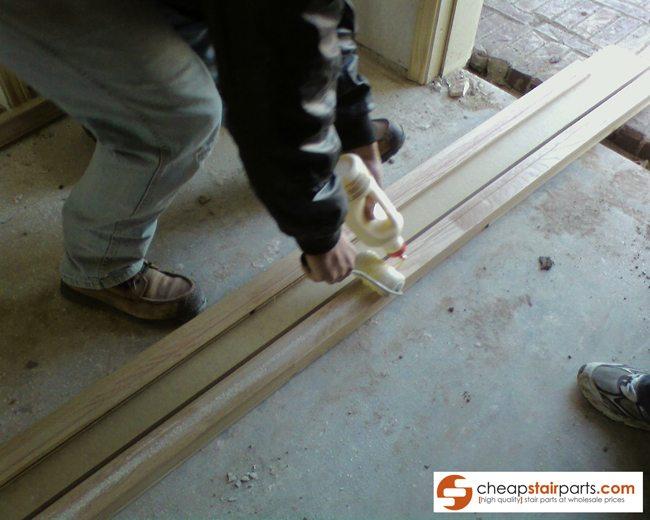
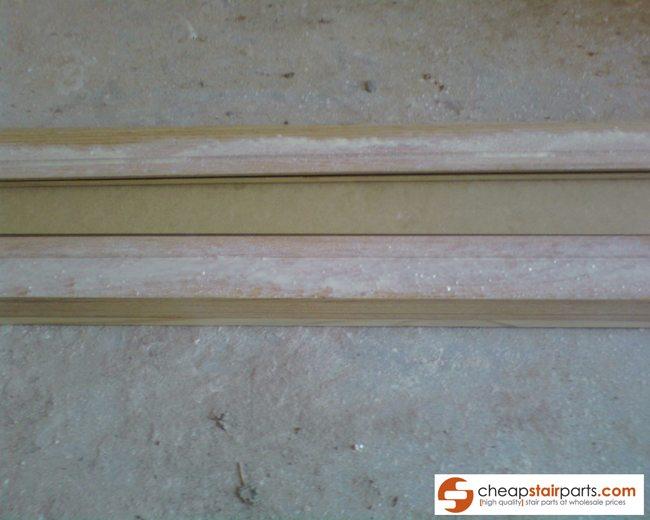
Use a small paint roller to put a thin, even coat of wood glue between each layer of the bending rail. Don’t overdo it. Too much glue makes the layers slide around when you clamp them.
Step 4: Set the rail into the guide blocks
Place the glued rail between the guide blocks with the outer molding layer on the outside. Don’t glue the outer molding layer. It’s only there to protect the rail from the clamps.
Step 5: Line up the layers
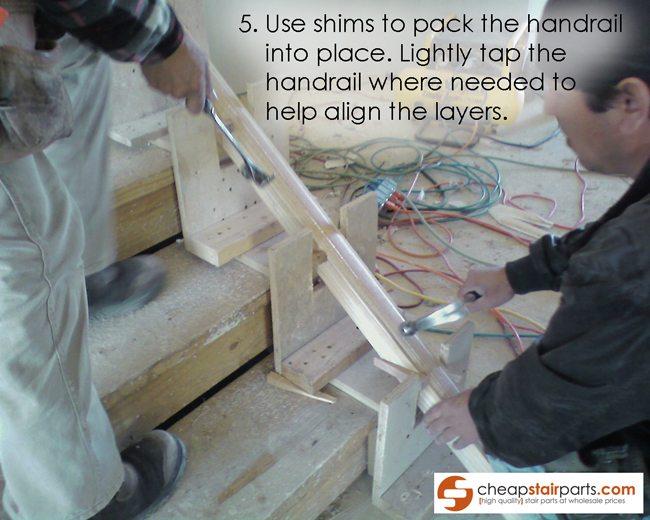
Use shims to hold the rail in place and center it in the guide blocks. Tap the rail with a rubber mallet where needed so all the layers line up flush.
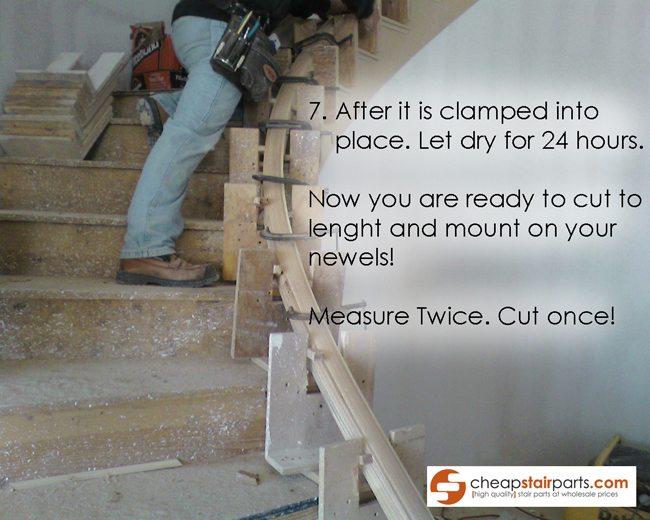
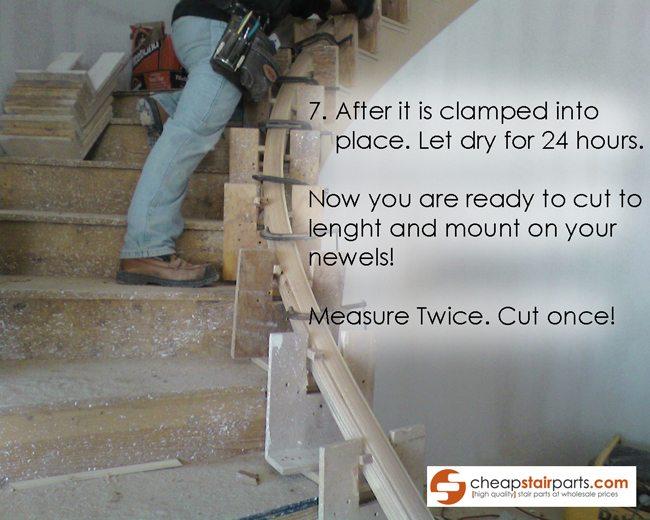
Step 6: Clamp it down
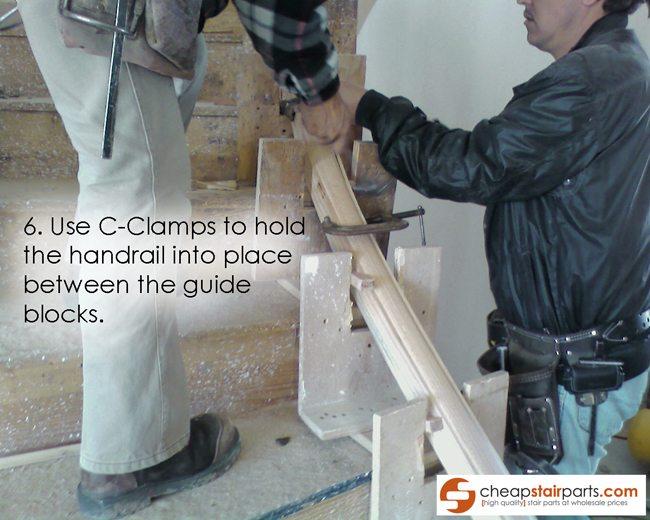
Clamp the rail tight between the guide blocks with C-clamps. Space them along the full length so the pressure is even. Wipe off any glue that squeezes out before it dries.
Step 7: Let it dry, then fit it
Let the rail dry for at least 24 hours. Then take off the clamps and guide blocks, and sand off any dried glue. After your newel posts are installed, test-fit the rail before you cut it to length. Measure twice, cut once.
Need the handrail, fittings or newels for your curved stair? Shop wood handrails and fittings, or send us your stair layout for a free quote.
Bending Handrail FAQ
Can you bend a regular wooden handrail?
No. A solid handrail will crack if you try to bend it. Curved stairs use bending rail, which is made of thin layers that you glue and clamp into shape.
How long does bending handrail need to dry?
At least 24 hours in the clamps. Don’t pull the clamps early, or the rail can spring back out of shape.
How many layers does bending handrail have?
Most bending rail has 7 to 10 layers (plies), glued together as you clamp it into the curve.
What glue should I use for bending handrail?
Regular wood glue works. Roll on a thin, even coat between each layer. Too much glue makes the layers slip when you clamp them.